Claude Code is Anthropic's terminal-first AI coding agent powered by Claude Opus 4.6. It starts at $20 per month on the Pro plan, installs with a single npm install -g @anthropic-ai/claude-code command, and takes about 30 minutes to go from zero to shipping your first real feature on a real project. This guide is the exact onboarding path I wish someone had handed me 14 months ago.
I've used Claude Code every single day for the last 14 months to build and ship ThePlanetTools.ai — a full production Next.js site with Supabase, MCP servers, subagents and a content pipeline that generates SEO pages on autopilot. When I started, the onboarding felt intimidating because every tutorial assumed you already knew what CLAUDE.md was, how MCP servers worked, and why the terminal-first approach mattered. This guide skips the hand-waving: you get the exact commands, the exact prompts, and the exact mental model I use every day.
What Is Claude Code? (30 Seconds)
Claude Code is a command-line coding agent from Anthropic. You type natural language into your terminal, and Claude reads your files, writes code, runs commands, fixes bugs and ships features — with your permission on every destructive step. It runs on Claude Opus 4.6, currently the highest-scoring model on SWE-bench Verified at around 80.8%, with a real 1M-token context window on the Max tier.
It is not an IDE like Cursor, and it is not a tab-completion plugin like GitHub Copilot. It is an autonomous agent that lives in your terminal, reads your project, and drives. The closest mental model: imagine pair-programming with a senior engineer who never sleeps, costs $20 per month, and already read your whole codebase before the session started.
What You'll Build in the Next 30 Minutes
By the end of this guide you will have:
- Claude Code installed globally and authenticated against your Anthropic account.
- A working project directory where Claude can read, write and run code.
- Your first real feature shipped — we'll wire a small CLI utility from scratch.
- A
CLAUDE.mdfile giving Claude persistent memory about your project. - Your first MCP server connected (Supabase, if you have one — or a filesystem MCP if you don't).
- Your first subagent, a reusable specialized worker you can call from any session.
This is the same stack I ship with every day. It's not a toy workflow — it's production.
Prerequisites (5 Minutes)
You need three things before you install Claude Code. Skip any of them and the 30-minute clock doesn't start until you circle back.
1. Node.js 18 or newer
Claude Code is distributed via npm, so you need Node.js. Check what you have:
node --versionIf you see v18.x.x or higher, you're good. If the command fails or shows an older version, grab the LTS build from nodejs.org — the default installer is fine on macOS, Windows and Linux.
2. A terminal you actually open
On macOS, the built-in Terminal or iTerm2 work. On Windows, I recommend Windows Terminal with either PowerShell 7 or WSL2 (Ubuntu). On Linux, any shell you already use. You don't need to be a terminal wizard — if you can cd into a folder and run npm install, you have enough.
3. An Anthropic account with Pro ($20 per month) or credits
Create one at console.anthropic.com. Claude Code runs on Pro ($20 per month, ~5x Free usage), Max 5 ($100 per month, ~5x Pro), or Max 20 ($200 per month, ~20x Pro). I run Max 20 because I'm in Claude Code 8+ hours a day, but Pro is plenty to follow this guide and ship your first feature.
Pay-as-you-go API credits also work, but a subscription is cheaper for anything beyond light use. After 14 months of billing, my honest take: start on Pro, upgrade to Max 5 the first time you hit a rate limit mid-session, and only go Max 20 if Claude Code is your primary workflow.
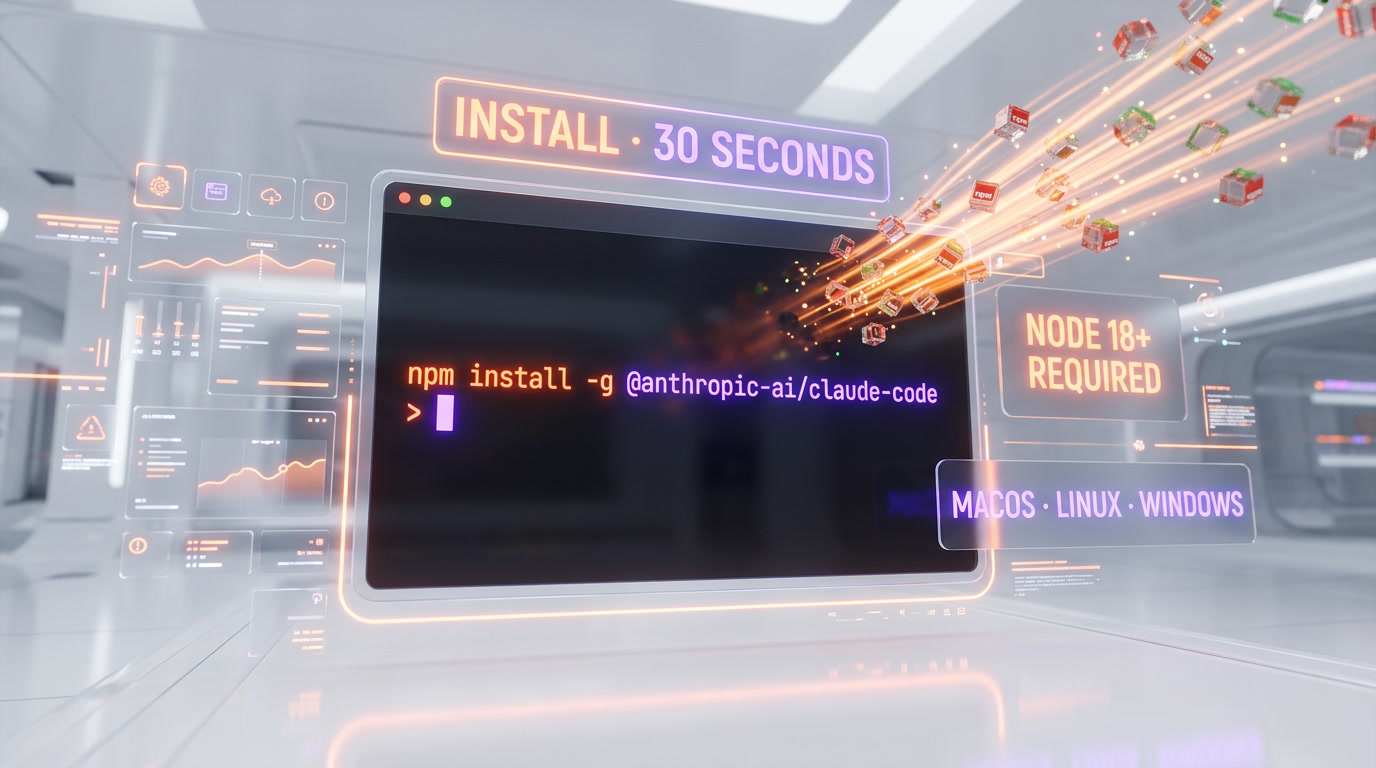
Step 1: Install Claude Code (1 Minute)
One command, global install:
npm install -g @anthropic-ai/claude-codeOn macOS and Linux you may need sudo depending on how Node.js is configured. On Windows, run your terminal as administrator if you get a permission error. Verify the install worked:
claude --versionYou should see a version number like 1.x.x. If claude isn't found, your global npm bin isn't on your PATH — fix it by running npm config get prefix and adding the returned path plus /bin to your shell rc file (~/.zshrc, ~/.bashrc or $PROFILE on PowerShell).
Step 2: Authenticate (2 Minutes)
Still in your terminal, run:
claudeThe first time you run Claude Code it opens your browser, redirects you to console.anthropic.com for OAuth, and asks you to authorize the CLI. Click through, approve, and the browser hands the session back to your terminal automatically.
If you prefer to use a raw API key instead (useful in CI environments), you can set ANTHROPIC_API_KEY as an environment variable before running claude. For your laptop, the OAuth flow is easier and the default.
When auth is done, you'll land in an interactive REPL with a prompt like this:
> Congratulations — Claude Code is running. Now we use it.
Step 3: Your First Hello World — Talk to Claude Code (2 Minutes)
Before we touch a real project, type a simple prompt to confirm everything works:
> Hello Claude — what version of yourself are you running, and can you read my current working directory?Claude will answer with its model version (Opus 4.6 on Pro and above) and list the files in the folder where you launched the session. That's the mental shift from chatbots: Claude Code is already in your filesystem. No copy-paste, no upload button, no "let me share my repo." It sees what you see.
Try one more:
> What would you need to know about my project before you could help me ship a feature?The answer gives you a preview of the CLAUDE.md habit we'll install in Step 6. File tree, tech stack, conventions, a sense of the goal — that's the context Claude craves.
Step 4: Open a Project and Let Claude Code Read It (5 Minutes)
Now let's point Claude Code at a real project. You have two options — pick whichever matches where you are today:
Option A: Use an existing project
Quit Claude Code (/quit), cd into any repo you're already working on, and run claude again. The session now sees that project's files.
Option B: Start a fresh toy project
If you don't have a codebase handy, spin up a blank Node project in 30 seconds:
mkdir hello-claude-code
cd hello-claude-code
npm init -y
claude
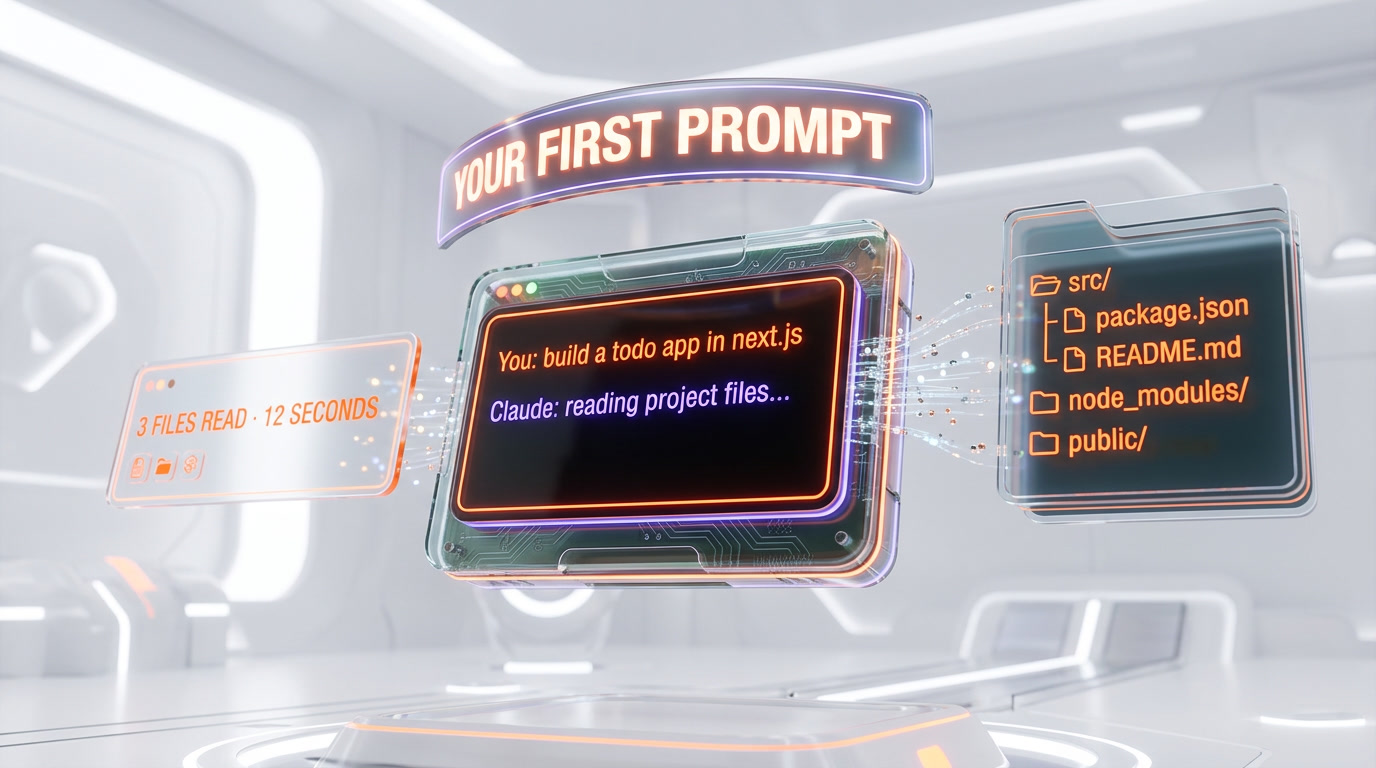
Either way, once Claude Code is running inside your project, start with an orientation prompt:
> Read every file in this project and give me a one-paragraph summary of what it is, what stack it uses, and what you would expect a reasonable next task to look like.Claude will ask for permission to read files. Approve with y. Watch it list the files as it goes — that's the agent working. On my first project I was floored: Claude didn't just grep for keywords, it actually reasoned about the structure and told me what the pages/ folder was clearly missing. That's when the "pair programmer" comparison clicked for me.
Step 5: Create Your First Feature (8 Minutes)
This is where most guides wave their hands. I won't. We're going to ship a real, tiny, working feature. Still in your hello-claude-code folder (or any project you opened in Step 4), type this prompt exactly:
> Create a CLI script called greet.js at the root of this project. It should accept a --name argument (default: "world") and print a colorful greeting using the chalk package. Install chalk if needed. Add a "greet" npm script in package.json so I can run it with "npm run greet -- --name Anthony". Show me the diff before applying.Claude Code will:
- Read the existing
package.json. - Propose the plan: install chalk, create
greet.js, updatepackage.json. - Ask you to approve each file write.
Approve each step with y. After the last approval, run the new script in a second terminal:
npm run greet -- --name AnthonyYou should see a colorful Hello, Anthony! line in your terminal. That is your first shipped feature with Claude Code — written, installed, wired and tested end-to-end, without you touching a single file by hand.
If something failed (dependency mismatch, missing shebang, weird path issue) don't panic — that's where Claude Code is at its best. Paste the error back into the session and say > That failed with the error above. Fix it. Claude will read the error, re-read the relevant files, and patch the issue. This back-and-forth is the loop you live in 90% of the time. Get comfortable with it — it is the job.
Step 6: Write Your CLAUDE.md — The Secret Weapon (4 Minutes)
After 14 months of daily use, here's the single highest-leverage trick I know: CLAUDE.md is Claude Code's persistent project memory. It's a plain-text Markdown file at the root of your project that Claude loads automatically at the start of every session. Write it once, and every future session knows your stack, your conventions, your goals and your constraints without you re-explaining them.
Ask Claude Code to write it for you — meta, I know, but it works:
> Create a CLAUDE.md file at the project root. It should document: the stack (Node.js CLI project with chalk), the conventions I want (kebab-case filenames, ES modules, async/await), the goal (a playground for learning Claude Code), and a short "How I work" section saying I prefer small diffs, explicit approval on every write, and short explanations after each change.Approve the write. Open the file in your editor and read it. You'll see a clean, structured brief that looks like a junior engineer's onboarding doc — because that's exactly what it is. You can edit it freely; Claude will respect the updated version on the next session.
The three levels of CLAUDE.md that matter in practice:
~/.claude/CLAUDE.md— your global identity and preferences across every project../CLAUDE.md— per-project memory (the file you just created)..claude/memory/— an optional folder for decisions, learnings and primers that compound across months.
Treat CLAUDE.md like an engineering journal. Every time you make a real decision, add a one-line note. Six months later, new sessions inherit your entire decision history for free. That's the compounding advantage nobody tells you about on day one.

Step 7: Install Your First MCP Server (4 Minutes)
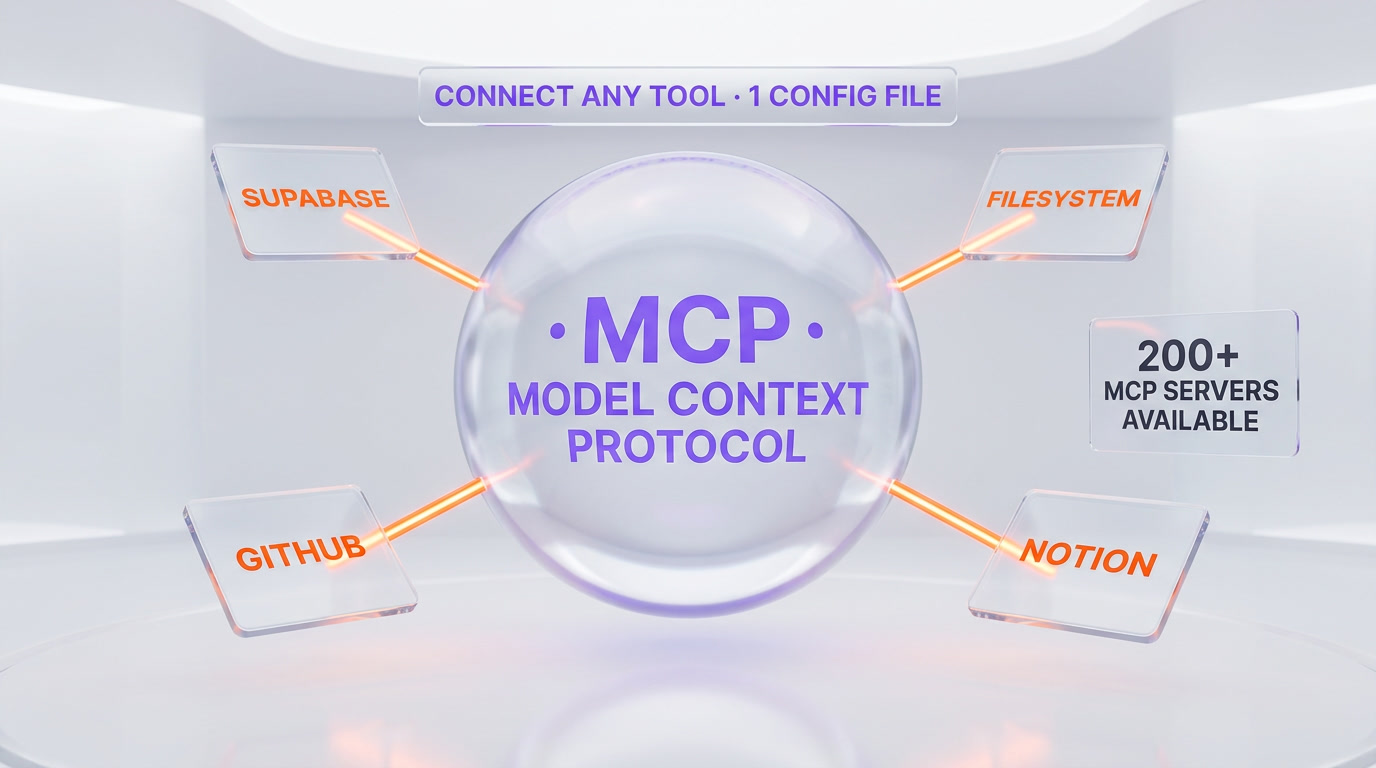
MCP — Model Context Protocol — is the plugin system that turns Claude Code from "smart terminal" into "automation engine". MCP servers give Claude structured access to external tools: Supabase, GitHub, Notion, filesystems, browsers, Stripe, and hundreds more as of April 2026.
For your first MCP server, we'll add one you'll actually use. If you have a Supabase project, use the Supabase MCP. If not, use the filesystem MCP — both install the same way.
Option A: Supabase MCP (if you have a Supabase project)
claude mcp add supabase --env SUPABASE_ACCESS_TOKEN=sbp_your_token -- npx -y @supabase/mcp-server-supabase@latestGrab the access token from supabase.com/dashboard/account/tokens. After installing, restart Claude Code and ask: > List my Supabase projects. Claude will call the MCP server, fetch the live list and show it in the terminal. That's the first time it really hits you — Claude is now operating on your infrastructure, not just writing code about it.
Option B: Filesystem MCP (if you just want to try one)
claude mcp add filesystem -- npx -y @modelcontextprotocol/server-filesystem /Users/yourname/DocumentsSwap /Users/yourname/Documents for any folder you want Claude to be able to read and write outside its current working directory. Restart Claude Code and ask: > List the files in the filesystem MCP's allowed directory.
To see everything connected, run claude mcp list. To remove one later, claude mcp remove <name>. That's the whole MCP CLI for 95% of use cases.
Step 8: Create Your First Subagent (3 Minutes)
Subagents are specialized, reusable workers you can invoke from any Claude Code session. Think of them as "prompt recipes with a name" — each one has its own system prompt, its own allowed tools, and its own memory scope.
You create them by dropping a Markdown file into .claude/agents/ in your project. Let's make one — a code-reviewer subagent that reviews any file you hand it:
> Create a subagent called code-reviewer. Put it in .claude/agents/code-reviewer.md. Its job is to review a single file I give it for readability, bugs, and testability, then return a prioritized list of issues. It should only read files, never write them.Approve the write. Now invoke the subagent from your main session:
> Use the code-reviewer subagent to review greet.js.Claude spawns a fresh subagent context, reads the file, and returns a review without polluting your main session's memory. Over time you'll build a small library of them — a test writer, a doc writer, a migration runner, a commit-message writer. I currently run 12 subagents across my projects. They compound harder than anything else in the Claude Code stack.
Common Mistakes Beginners Make
After onboarding dozens of people onto Claude Code, these are the mistakes I see every single time:
1. Vague prompts
"Fix my app" is not a prompt. "The login route returns 500 when the email is empty — read auth/login.ts and fix it without touching the database schema" is a prompt. Be specific about what, where and what not to touch.
2. Skipping CLAUDE.md
If you don't write a CLAUDE.md, every session starts cold. Claude re-discovers your stack, re-guesses your conventions and re-learns your preferences. Five minutes of writing CLAUDE.md saves you hours every week.
3. Auto-approving every write
Claude Code's approval prompts exist for a reason. Skimming diffs is fine; blindly hitting y on everything is how you end up with .env files committed to git. Read the diffs.
4. Ignoring errors instead of pasting them back
When a step fails, don't Google the error. Paste it into the Claude session. Claude Code is better at fixing its own errors than you are at debugging them — it already has the context.
5. Staying on the wrong plan
If you're hitting rate limits mid-session on Pro, move to Max 5. If you're hitting them on Max 5, move to Max 20. The cost of stopping mid-feature is higher than the upgrade price. I know — I lived it.
10 Tips From 14 Months of Daily Use
- Start every session with a plan prompt. "Before you write any code, tell me your plan" is the single most effective first sentence of any session.
- Treat CLAUDE.md like an engineering journal. Add one line every time you make a real decision. It compounds.
- Use
/compactbefore long sessions get expensive. It summarizes history and frees context without losing the important bits. - Keep a "prompts" folder in your project. Reusable prompt templates beat retyping the same 200-word brief every morning.
- Subagents for anything you do twice. If you wrote the same "now review this for bugs" prompt two days in a row, it's a subagent.
- Separate read sessions from write sessions when you're exploring an unknown codebase. Read-only is safer and cheaper.
- Pair Claude Code with Cursor, not against it. Claude Code for agents, Cursor for visual editing. I use both every day.
- Commit often — Claude Code can touch many files in one pass. A clean git history is your safety net.
- Add MCP one server at a time. Don't install ten at once — you'll lose track of which tool Claude is calling when.
- When Claude seems stuck, restart the session. A fresh context window beats fighting a drifting one 90% of the time.
What to Learn Next
You now have the stack. Here's the path I'd follow in your shoes over the next two weeks:
- Week 1 — depth. Ship three real features on a project you care about. Use CLAUDE.md. Use one MCP server. Use one subagent. Get comfortable with the approval loop and the plan-first habit.
- Week 2 — width. Read the Claude Code docs end-to-end. Install a second MCP server (GitHub is a great one). Write a second subagent (a commit-message writer, for example). Try the
/compactcommand on a long session. - Beyond. Read the Claude Code leaked-source analysis to understand what's actually happening under the hood. Then compare it to the alternatives in our Claude Code pillar review and our Cursor review.
That's the path. Thirty minutes in, you ship your first feature. Two weeks in, you stop writing code with your own hands for anything repetitive. Two months in, you're building automation pipelines you never would have attempted alone. That's the curve I rode, and it starts with the single npm install -g command at the top of this guide.

FAQ
How much does Claude Code cost for a beginner in 2026?
Claude Code runs on three subscription tiers in 2026: Pro at $20 per month (roughly 5x the free usage), Max 5 at $100 per month (roughly 5x Pro) and Max 20 at $200 per month (roughly 20x Pro). Pay-as-you-go API credits also work. For a beginner following this guide, Pro at $20 per month is plenty — you can ship your first feature, write CLAUDE.md, connect an MCP server and build a subagent without hitting limits. Upgrade to Max 5 the first time you hit a rate limit mid-session.
Do I need to know how to code before using Claude Code?
You need enough programming literacy to read a diff and understand what a file does — otherwise you cannot approve Claude's writes safely. You do not need to know how to write the code from scratch. Many beginners start exactly at that level, and Claude Code accelerates their learning curve because every accepted change is a read-aloud lesson in the pattern Claude used. Do not blindly approve writes you cannot read; that is how people accidentally commit secrets or break working code.
How long does it take to install Claude Code and ship a first feature?
From a clean laptop, the install takes about one minute (a single npm global install). Authentication takes another two minutes through the browser OAuth flow. Following this guide from Step 1 to Step 5 takes roughly 20 minutes — that gets you to a real shipped feature. Adding CLAUDE.md, your first MCP server and your first subagent adds another 10 to 15 minutes. Total: about 30 minutes to the full production stack.
What is CLAUDE.md and why does every Claude Code user talk about it?
CLAUDE.md is a plain Markdown file at the root of your project that Claude Code loads automatically at the start of every session. It documents your stack, your conventions, your goals and your constraints — so Claude does not rediscover them from scratch every time you open a session. There are three levels: the global file at ~/.claude/CLAUDE.md, the per-project file at ./CLAUDE.md, and an optional .claude/memory/ folder for decisions and learnings that compound over months. After 14 months of daily use, CLAUDE.md is the single highest-leverage trick in the whole Claude Code stack.
What is MCP in Claude Code?
MCP stands for Model Context Protocol. It is the plugin system that lets Claude Code connect to external tools — Supabase, GitHub, Notion, filesystems, browsers, Stripe and hundreds of others as of 2026. You install an MCP server with claude mcp add and a command string, restart Claude Code, and the agent can now call that tool directly inside a session. The Supabase MCP alone turns Claude Code into a full database operator; installing a second one like GitHub or filesystem is what takes Claude Code from "smart terminal" to "automation engine."
What is a Claude Code subagent and when should I use one?
A subagent is a specialized, reusable worker with its own system prompt, its own allowed tools and its own memory scope. You define one by dropping a Markdown file into .claude/agents/ in your project. Use a subagent whenever you catch yourself typing the same 100-200 word prompt twice in a row — code review, test writing, commit messages, documentation, migrations. Subagents run in fresh contexts so they do not pollute your main session, and they compound harder than anything else in the Claude Code stack once you have five or six of them.
Can I use Claude Code alongside Cursor or do I have to pick one?
You can absolutely use both, and I do — every single day. Claude Code is a CLI agent that lives in your terminal; Cursor is a VS Code-based visual IDE. They do not conflict, and you can even run Claude Code inside Cursor's integrated terminal if you want one window. My daily split: Cursor for frontend polish, UI iteration and greenfield components; Claude Code for refactors, backend work, hard bugs, DevOps and pipeline automation. Combined entry cost is $40 per month ($20 each) and the productivity gain from having the right tool for each job is larger than picking a single winner.
What if Claude Code makes a mistake while writing to my files?
Claude Code asks for explicit approval on every destructive write by default, so most mistakes are caught at review time — read the diff before you press y. For mistakes that slip through, your safety net is git: commit often, work on a feature branch, and you can always git reset. If a session is clearly drifting — Claude repeating itself, forgetting your instructions, or proposing wrong fixes — the single best move is to quit and start a fresh session. A clean context window beats fighting a polluted one 90% of the time.
Which operating systems does Claude Code support in 2026?
Claude Code runs on macOS, Linux and Windows. On macOS and Linux, the native terminal experience is smoothest. On Windows, I recommend Windows Terminal with either PowerShell 7 or WSL2 (Ubuntu). You need Node.js 18 or newer installed — that is the only real prerequisite beyond an Anthropic account with Pro or credits. If npm install -g fails with permission errors, run your terminal as administrator on Windows or use nvm / a non-root Node installation on macOS and Linux.